
Analyze your scRNA-seq samples in eLabJournal with Cellenics®
eLabJournal is an easy-to-use online lab notebook software, one of eLabNext’s suite of Digital Lab Platform (DLP) products. Biomage has developed the Cellenics eLabJournal Add-on so that you can import your scRNA-seq samples stored in eLabJournal into Cellenics®. Follow the instructions below to get started!
Installation & Configuration
The add-on can be installed from the eLabJournal marketplace.
1. Go to the eLabJournal marketplace
2. Search for the “Cellenics” and install the add-on
3. The add-on needs to be configured after installation. Click “configure” under the “Install” button.
4. Insert your Cellenics® username and password. Don’t have one? Create one now.
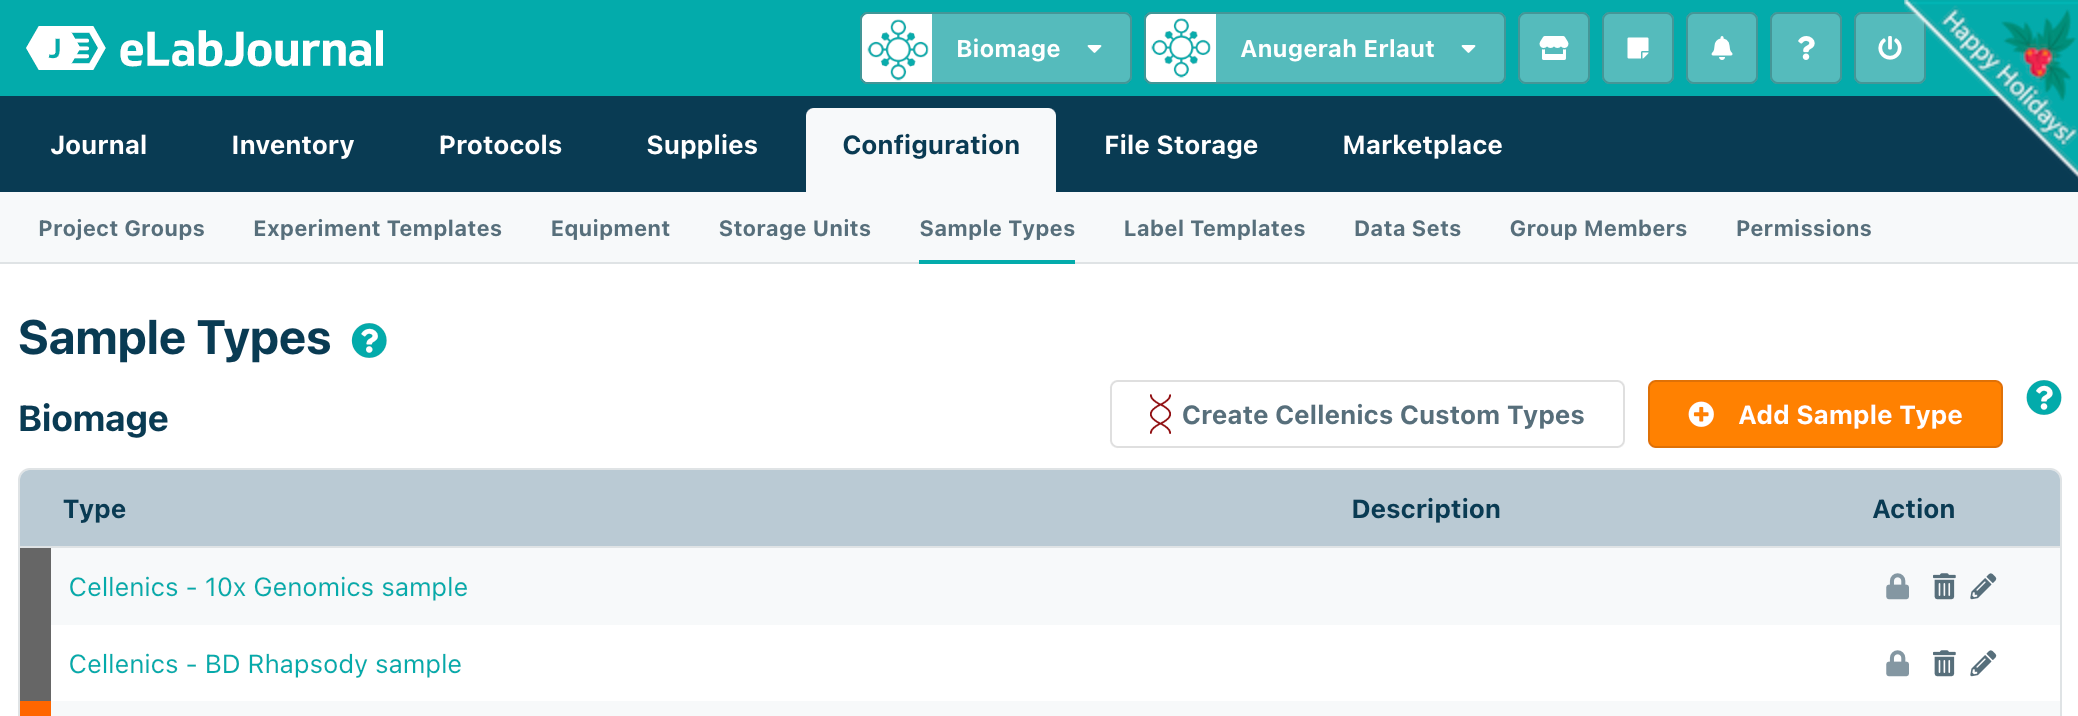
Cellenics require you to upload the correct set of scRNAseq sample data files according to the scRNAseq platform that you use to be able to process your data correctly. The add-on has made it easy for you to do this. To create these custom sample types, in eLabJournal, go to Configure > Sample Type. You’ll see the “Create Cellenics Custom Types” button. Click on this button to create the custom sample types.
(Optional) Creating “Digital Storage”
In eLabJournal, samples are stored in a “storage” configured to mimic. You might not have the concept. To better organize your samples, we recommend you create storage to specifically store digital storage (much like your computer folders). This separates physical and digital storage, making it easier for you to browse your samples.
To create a digital storage:
1. Go to Configuration > Storage Units.
2. Click “Custom”.
3. Enter your storage unit name (e.g. “Digital Storage”), and choose “Hard disk” as the storage type. Click “Proceed”
4. Once you’re on the next page, click “Finish”.
Creating scRNA-seq samples
With the add-on installed and configured, you are ready to analyze your scRNA-seq samples in Cellenics®.
1. Go to Inventory > Sample List
2. Click “Add Samples”
3. When a modal pop up, choose one of the “Cellenics - …” type corresponding to the scRNA-seq platform that you used to process your sample, or use one of your custom data types that has been added with the Cellenics file upload fields.
4. Each scRNA-seq platform outputs different files, so samples will have different input fields according to the platform. For example, for 10x Genomics samples 3 files are required: barcodes.tsv, features.tsv, and matrix.mtx.
5. Choose where you want to store your file. If you have created the Digital storage, in the previous post, you can store the samples in Digital storage.
6. For each of the corresponding fields, upload the required files.
Analyzing your data in Cellenics®
Now that the samples have been created, you can associate them with an experiment and analyze them in Cellenics®.
1. In your experiment, add a new section.
2. Select “Used samples” as the section type. The name of the section will become the name of your experiment in Cellenics®.
3. When you have added the section, a new Cellenics® button will appear on the section.
4. Add your samples to the section. Right now Cellenics® does not support the processing of multi-technology samples in an experiment. This means one section should only contain samples from the same technology. Uploading samples from more than one technology will cause errors when the samples are processed in Cellenics®.
5. Click on the “Upload” button. The add-on will upload the samples for you and create a new experiment in Cellenics® using the name that you have input for the section. Once the upload is done, a tab to Cellenics® will open.
6. Insert your metadata in Cellenics® and process your sample!
7. If you need help more with Cellenics®, check out our Getting Started tutorial.


Creting Cellenics Sample Types
The custom sample types contain fields for you to upload your sample files into. If you already have existing custom sample types, and would like to use these sample types, you can add the Cellenics file upload fields to your sample types. To do so, open the settings page of your custom sample types and click on the “Add Cellenics Fields“ button.

Inserting Data Into eLabJournal
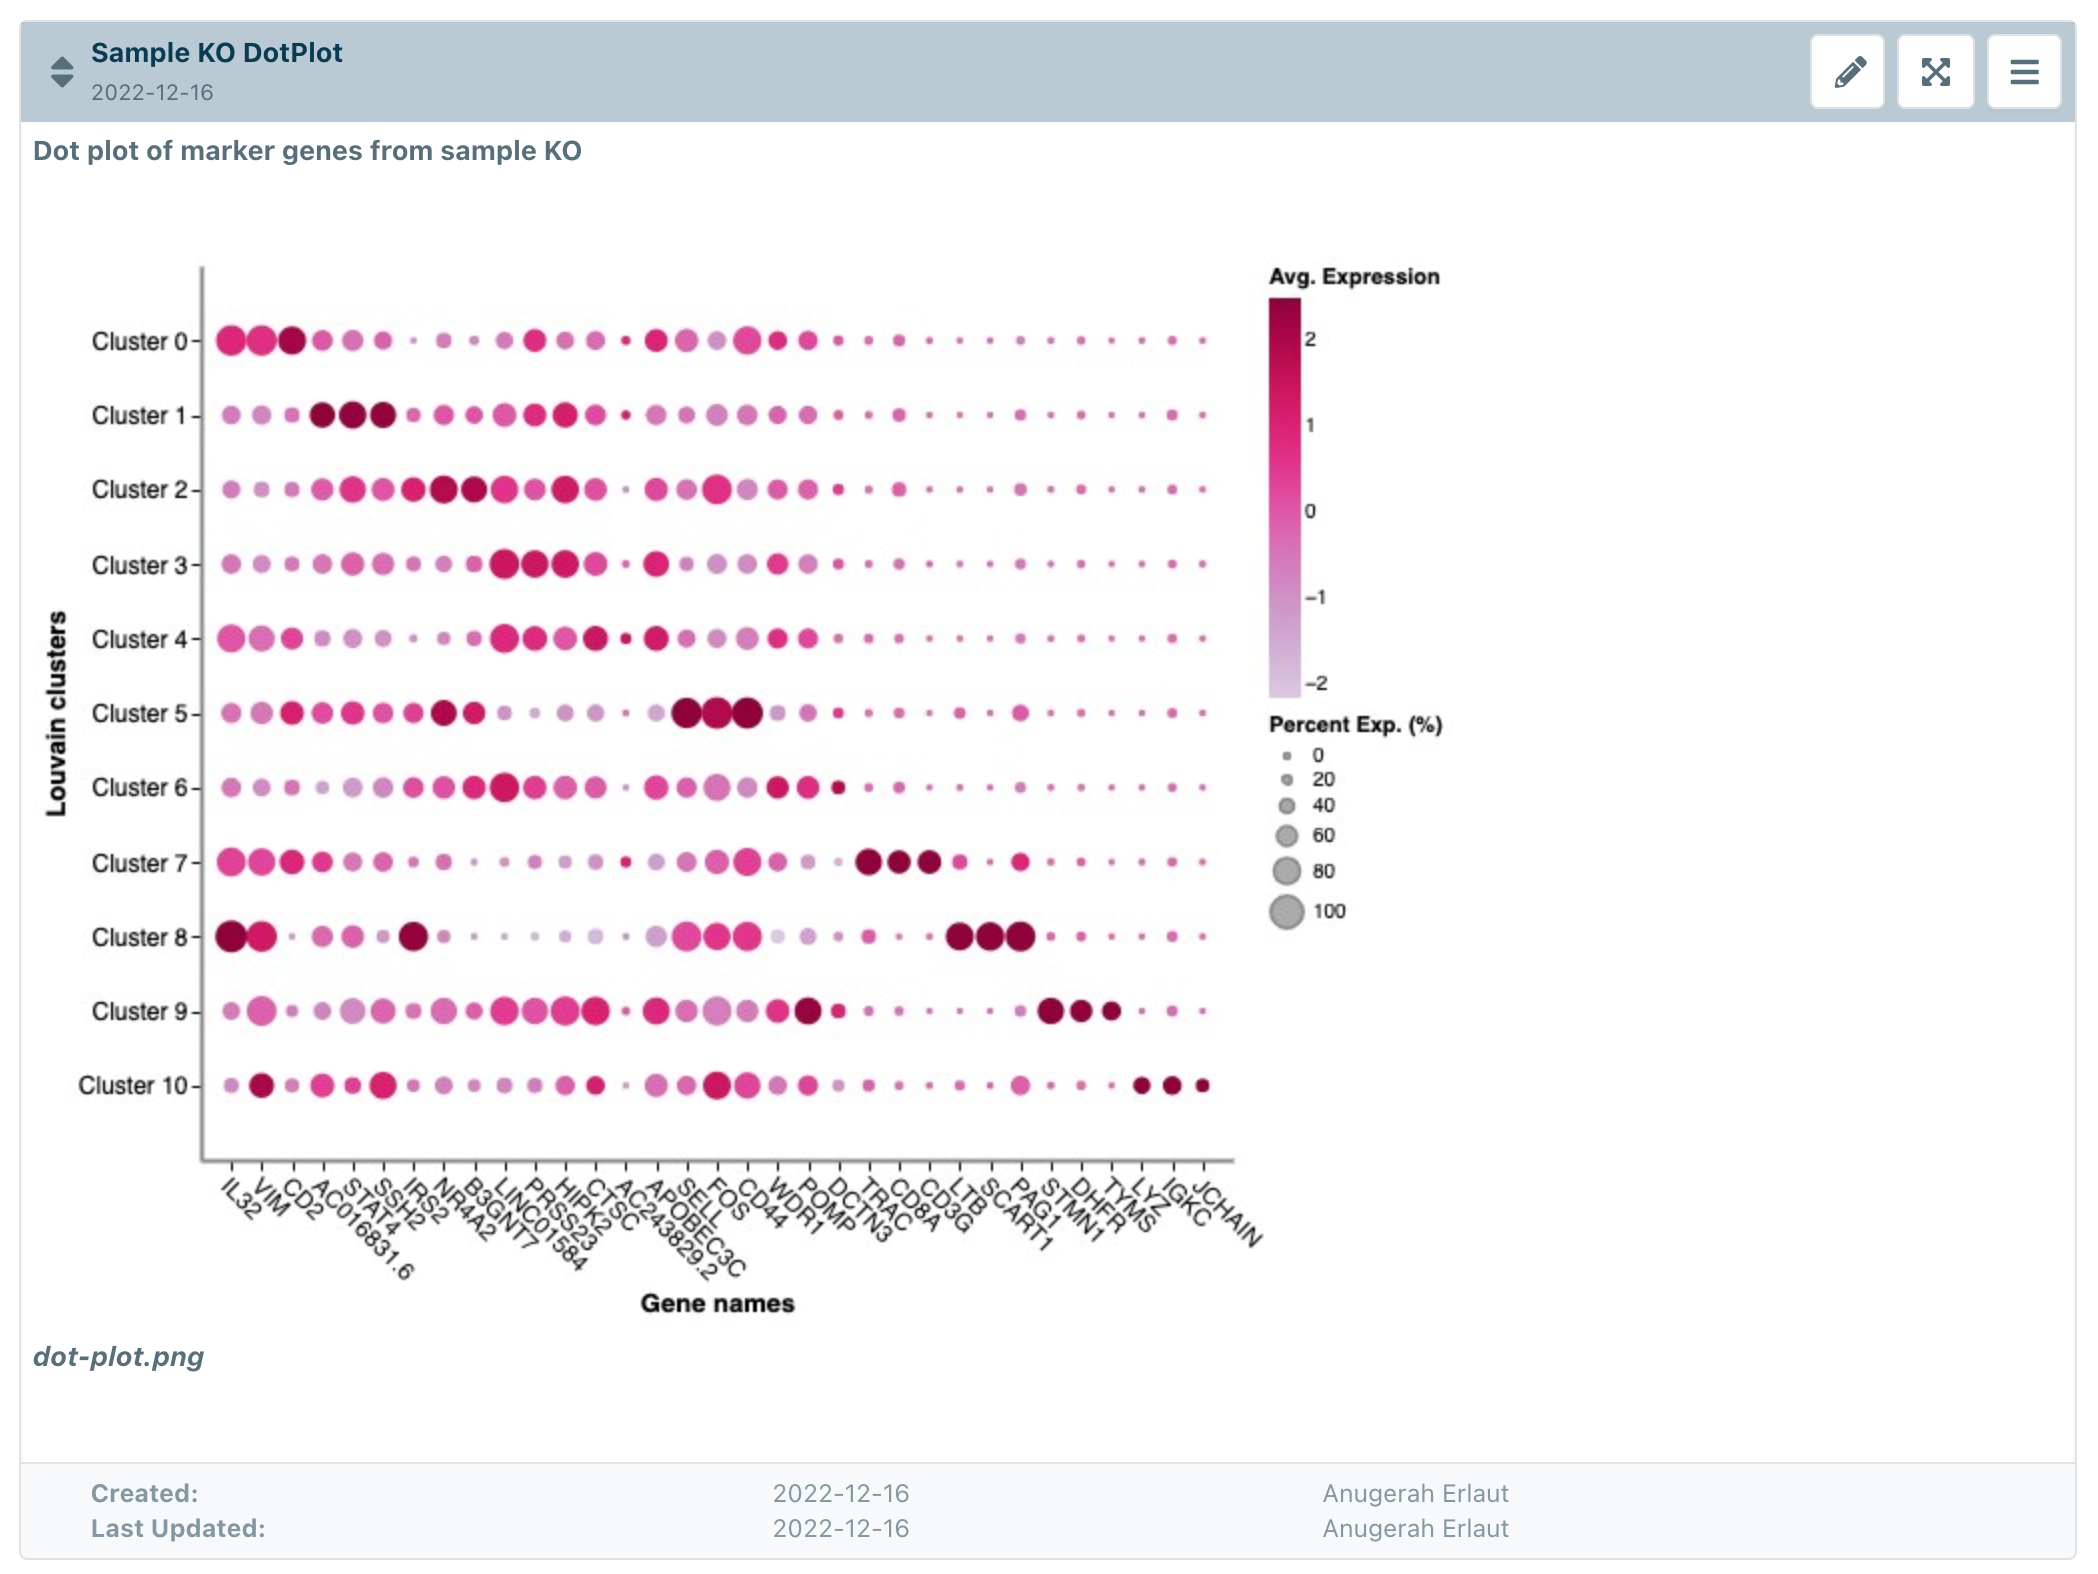
As of this writing (add-on version 0.3.1), the Cellenics® add-on does not yet have the capability to automatically add plots and figures back into eLabJournal. However, you can easily download / screen capture the plots that are generated in Cellenics® and insert them into your journal in eLabJournal. To do so, hover over the three black dots in any of the plots in Cellenics®, and then click “Save as PNG”.

Once the plot is saved, you can insert them into eLabJournal, for example in a Text paragraph Section:
We hope you’ll find the Cellenics add-on useful! If you have any questions or feedback for Cellenics® or the add-on, please reach out to us via email at hello@biomage.net